Repair Install Windows XP
- This tutorial will guide you through the Windows XP Repair Install process. This is a useful method for repairing corruption issues with your XP installation.
- Before you can use the installation media, configure your BIOS for the proper boot order. The installation media should be the first option in the boot menu, i.e. your CD/DVD drive or USB drive.
- Refer to your system manual for steps to enter the BIOS and change boot order settings. Most system manuals can be found online through the system manufacturer (Dell, HP, etc.) or motherboard manufacturer (Gigabyte, ASUS, etc.).
- If you cannot find your installation media, please contact your system manufacturer (Dell, HP, etc.) to replace missing recovery discs or contact Microsoft to replace a missing retail copy. If you were not provided with installation media, you may need to purchase a retail copy from an online or local store if they carry Windows XP.
- Before you can use the installation media, configure your BIOS for the proper boot order. The installation media should be the first option in the boot menu, i.e. your CD/DVD drive or USB drive.
- When prompted, Press any key to boot from CD...
- If you do not see this message or it goes by too quickly, restart your system and try again.
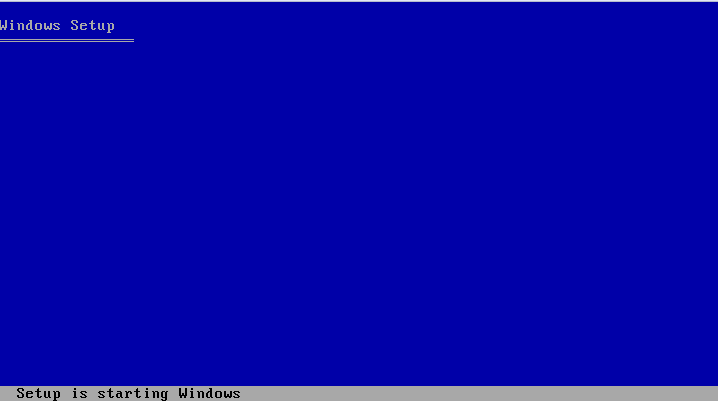
- Once the installation media boots, you will see the following screen. In the lower left corner the message Setup is starting Windows will be replaced with a message that Setup is loading files (file name)... which includes the name of the file setup is loading at that instant. This is an important step for verifying that the installation media is working as it should. If there are no problems with the media, the next screen you see will be the screen in step 4.
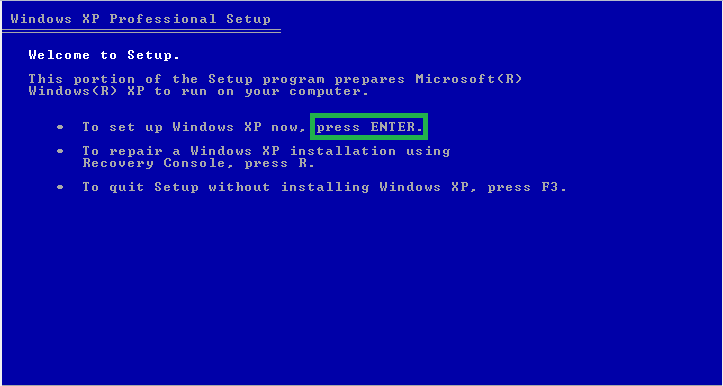
- Press Enter to install Windows XP.
WarningPrior to beginning the installation of Windows XP, you will need your installation key. If you have misplaced your key, contact your system manufacturer or Microsoft to obtain a replacement key.
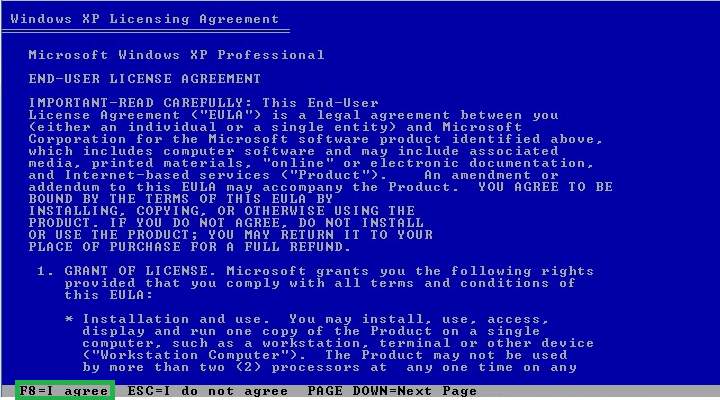
- Press F8 to agree to the End User License Agreement (EULA).
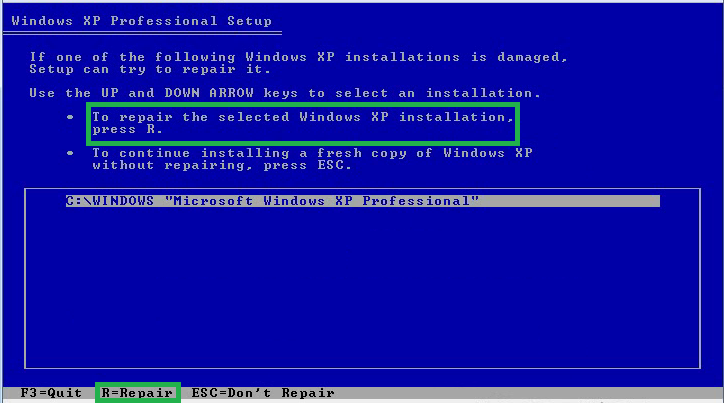
- Press R to repair the current installation of Windows XP.
- Setup will copy files for the installation. Once it finishes, follow the on screen instructions to continue the installation.
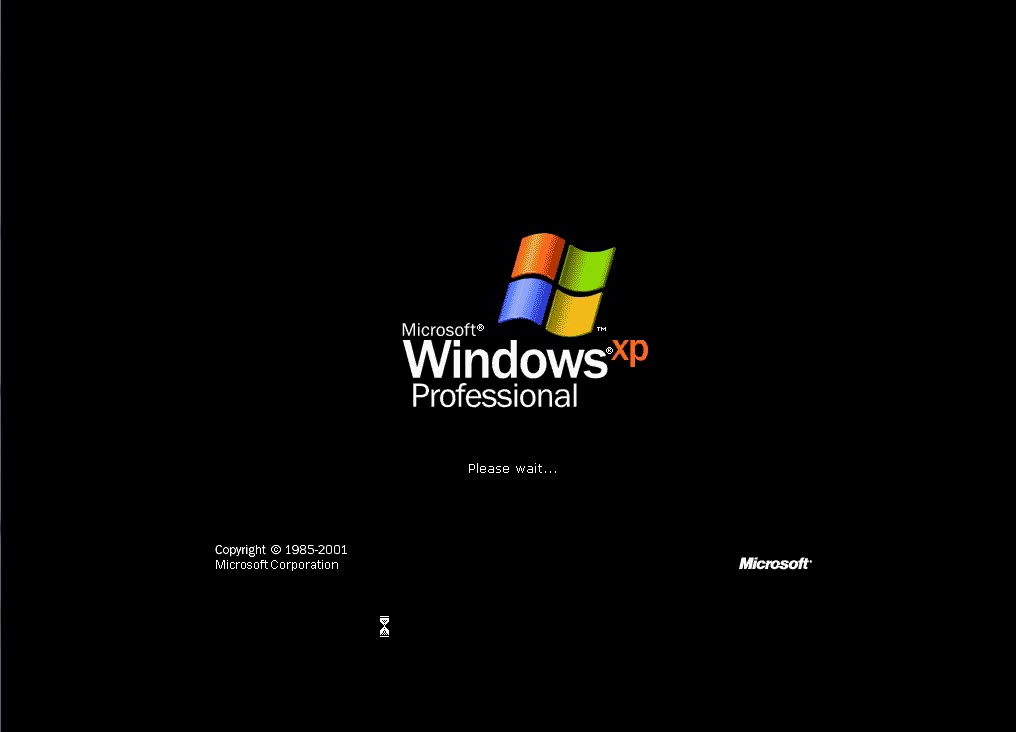
- The following screen may remain for a while depending on how badly damaged your original install was. A repair install is not guaranteed to fix all Windows issues, and Windows may not run as smoothly as desired. However, the repair install will provide a method for backing up important data in most cases. If you need further help after doing the repair install, please start a thread in Windows XP or continue getting help within the thread you started for your Windows XP troubleshooting.
Last edited:
